Installation Guides
Congratulations on your purchase of a wallpaper from Liv Art & Wallpapers!
All of our wallpapers are designed to be straightforward to install and include a detailed step-by-step guide. If you have any questions during the process, our expert team is here to help.
Anyone comfortable with a bit of DIY should find the process simple, but if you’re not confident, we recommend seeking assistance from a professional installer.
Below you’ll find step-by-step installation guides for our different wallpaper formats and materials:
Fixed-Size Rolls
Custom-Sized Murals – Traditional Wallpaper (paste-the-wall)
Custom-Sized Murals – Peel & Stick (self-adhesive)
A step-by-step hanging guide is included with your wallpaper to assist you further. If you have any questions or need help during the installation process, our expert team is on hand to provide support. Enjoy your new wallpaper!
Installation Guide for Fixed-Size Rolls
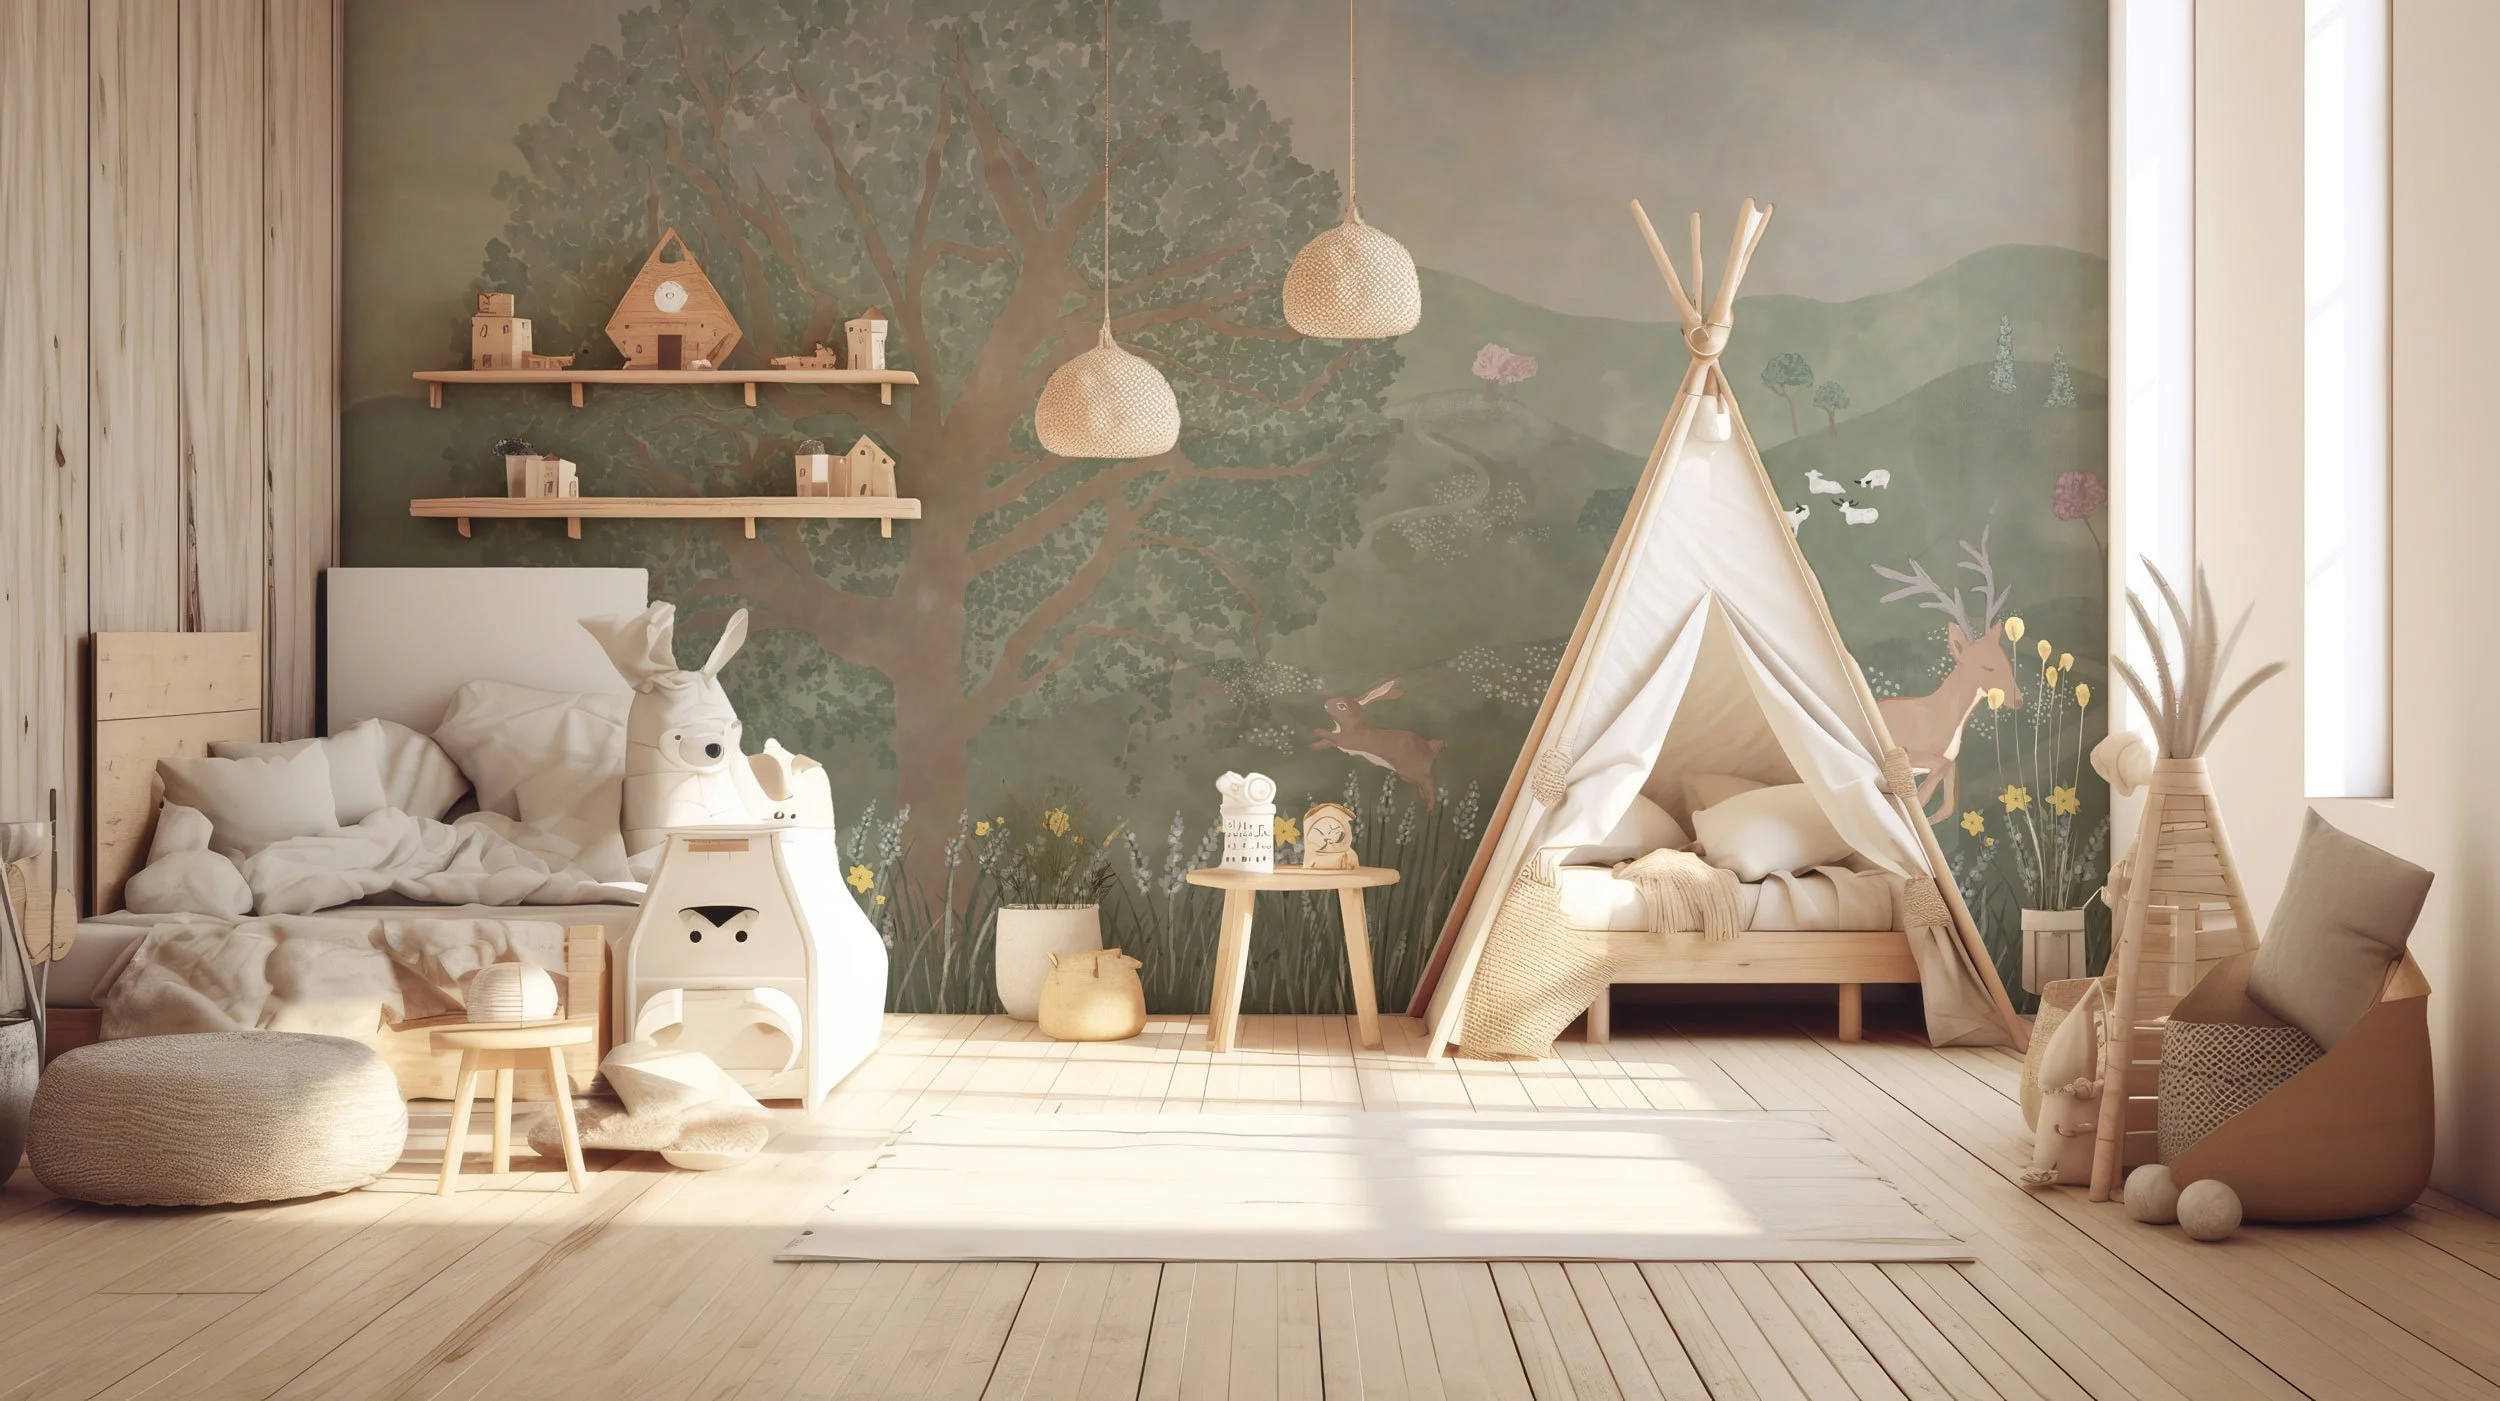
This guide is for our fixed-size rolls wallpapers. The fixed-size wallpaper rolls measure 0.5 meters in width and 10 meters in height. It features repeating standard pattern prints that are designed to align perfectly when installed correctly, creating a seamless effect of continuous artwork.
1. Prepare Your Wall
A clean, smooth, and dust-free surface is essential for a successful installation. Remove any protruding fixtures and use filler to address any holes, cracks, or imperfections. If needed, consider painting your wall in a color that complements the wallpaper.
2. Gather Your Tools
Invest in quality wallpapering tools to make the process easier. Common tools you'll need include a smoothing tool, a sharp knife, and a clean sponge for any excess paste.
3. Prepare the Glue Paste
If you’re using the wallpaper glue sold on our website, follow the instructions provided on the package. Typically, you will mix the glue with water in a clean bucket. Make sure to adhere to the recommended ratios for the best results. Allow the paste to sit for a few minutes to reach the right consistency before use.
4. Decide Where to Start
It's best to start wallpapering at a window or corner. Measure the width of the wallpaper to ensure you have the right alignment. Use a spirit level to draw a vertical line along the wall with a pencil to ensure that the first strip hangs straight.
5. Glue the Wall
Check your wallpaper rolls to ensure none are damaged. Since our wallpaper is non-woven, apply the glue directly onto the wall. Use a brush for edges and corners, and a roller for larger areas. Be generous with the glue, but ensure it is evenly spread to avoid bubbles.
6. Hang the First Strip
Lightly secure the top of the first strip against the wall, aligning it with the pencil line you drew earlier. Use your smoothing tool to carefully work out any bubbles, starting from the center and moving outward. Cut off any excess wallpaper at the bottom to ensure a clean edge.
7. Align Subsequent Strips
After hanging the first strip and trimming the top and bottom, lay the next roll on its side and position it against the wall. Adjust it until the design matches perfectly with the first strip. Keep in mind that the height of the repeated pattern usually ranges from 50 cm to 70 cm, meaning that every 50-70 cm in the roll, the design will align seamlessly. The specific repeat size for your pattern can be found on the product page of our website.
8. Continue Hanging
Repeat the gluing and hanging process for each strip, ensuring to match the patterns as you go. Smooth each strip with your tool, and trim any excess at the top and bottom as needed.
9. Final Touches and Cleaning
Once all strips are hung, wipe away any remaining adhesive with a damp sponge. Ensure you clean the entire surface of each strip, not just the edges.
10. Let It Dry
Finally, keep the room well-ventilated and maintain a normal room temperature for at least 24 hours to allow the paste to dry completely.
Installation Guide for Custom-Sized Murals (Traditional Wallpaper – Paste-the-Wall)
Our Custom-Sized Murals are tailored to fit your wall’s exact dimensions. They arrive in strips measuring 45 cm in width, designed for the convenient paste-the-wall method. Each strip is numbered so you know exactly where to start and how to align them for a seamless mural.
1. Inspect Your Mural
Before you begin, check that you have all the strips and that there are no defects. Since this mural is custom-made, the last strip may not be fully printed.
2. Prepare Your Wall
Ensure the wall is clean, smooth, and dry. Fill any holes or cracks and remove protruding fixtures.
3. Gather Your Tools
You’ll need wallpaper paste, a roller, brush, sharp knife, plumb line, smoothing tool, and a sponge.
4. Prepare the Glue Paste
Mix the wallpaper paste according to package instructions. Let it sit for a few minutes until it reaches the right consistency.
5. Prepare Your Wallpaper
Lay out the strips in numerical order, label side up, starting with strip number 1. Allow the wallpaper to relax for a few minutes to eliminate any curl from rolling.
6. Measure and Mark
Start from the left corner of your wall and make a pencil mark one wallpaper width in from the left at the ceiling. Use a plumb line to draw a straight vertical line down the wall. Ensure the first strip aligns perfectly with this line.
7. Apply Paste to the Wall
Use a roller to apply paste to the wall, covering the surface evenly. Make sure to paste an area that is one and a half strips wide to avoid bubbles and ensure proper adhesion.
8. Hang Your Mural
Starting with the first strip, align it with the plumb line and gently press it onto the wall, smoothing out any bubbles with a wallpapering tool. For the subsequent strips, apply paste to the wall and place each strip 2-3 mm away from the previous one. Press the strips together to match the pattern, ensuring the wall is properly pasted where they meet.
9. Trimming and Cleaning
As you hang each strip, use a sharp knife to trim away any excess wallpaper at the top, bottom, and corners. Clean any excess paste immediately with a damp sponge to keep edges crisp and neat.
10. Let It Dry
After installation, keep the room well-ventilated and maintain a normal room temperature for at least 24 hours to ensure the paste dries properly.
11. Final Touches
A step-by-step hanging guide is included with your wallpaper to assist you. If you have any questions or need further assistance, our expert team is always available to help. Enjoy your new custom mural!
Installation Guide for Custom-Sized Murals (Peel & Stick - Self-Adhesive)
Our Custom-Sized Murals in Peel & Stick material are also delivered in numbered strips (45 cm wide) tailored to your wall’s exact dimensions. The adhesive backing makes it possible to apply the mural without additional paste.
1. Inspect Your Mural
Check that you have all the strips and that there are no defects before you begin.
2. Prepare Your Wall
Walls must be smooth, clean, and dry. Remove dust, dirt, or grease with mild soap and water. Allow at least 24 hours of drying time. Painted walls must cure fully (4–6 weeks) before installation.
3. Gather Your Tools
You’ll need a soft felt smoothing tool (to press the strips without damaging the surface), a sharp knife, a plumb line, and a clean cloth.
4. Lay Out the Strips
Arrange strips in numerical order, label side up, before applying.
5. Mark a Starting Line
Use a plumb line or level to draw a straight vertical guideline, one strip width from the corner.
6. Apply the First Strip
Peel back about 30 cm of the backing paper at the top. Align the strip with your guideline and gently press it to the wall. Smooth from the center outward as you slowly peel away the rest of the backing.
7. Apply Subsequent Strips
Place each strip 2–3 mm from the previous one to ensure edges meet correctly. Smooth carefully with the felt tool to remove air bubbles.
8. Trim and Adjust
Use a sharp knife to trim excess at top, bottom, and corners.
9. Final Check
Smooth down all strips once more, ensuring good adhesion and no trapped bubbles.
10. Enjoy Immediately
Unlike paste-the-wall, no drying time is needed. Your mural is ready as soon as the installation is complete.

Follow us on Instagram
Born in Brazil. Designed by hand in the Netherlands and Portugal. Produced in Sweden.
Free shipping
Follow us on Instagram Born in Brazil. Designed by hand in the Netherlands and Portugal. Produced in Sweden. Free shipping